Private Label Honeycomb Paper Decorations: From Concept to Retail-Ready Collection
Struggling to turn your vision for a seasonal decor collection into a physical product? It’s a common problem. You worry that manufacturing issues, inconsistent quality, or a flawe
Struggling to turn your vision for a seasonal decor collection into a physical product? It’s a common problem. You worry that manufacturing issues, inconsistent quality, or a flawed supply chain will lead to a product that misses the mark, wasting your budget and missing the peak selling season. The solution is realizing that developing private label honeycomb paper decorations is less about following a rigid production checklist and more about making a series of smart commercial decisions from the very beginning.
Creating a successful private label honeycomb paper decoration collection is a process of translating a creative vision into a commercially viable product. It requires aligning your design concept with manufacturing realities, defining practical quality metrics that go beyond a spec sheet, planning the assortment and packaging as a whole, and establishing clear verification checkpoints with your manufacturing partner to ensure the final product is truly retail-ready.
Thinking this way shifts your role from being a passive buyer to an active partner in the development process. It's about asking the right questions at the right time to de-risk your investment and ensure your collection is successful. Let’s break down the key decisions that will take you from a simple idea to a cohesive, retail-ready assortment.
How Do You Align Your Concept with Manufacturing Reality?
You have a beautiful design in mind, but you're haunted by a nagging question: will it actually work? You're afraid of investing time and money only to discover late in the game that your brilliant idea is too complex, too fragile, or too expensive to produce, forcing a costly and time-consuming redesign.
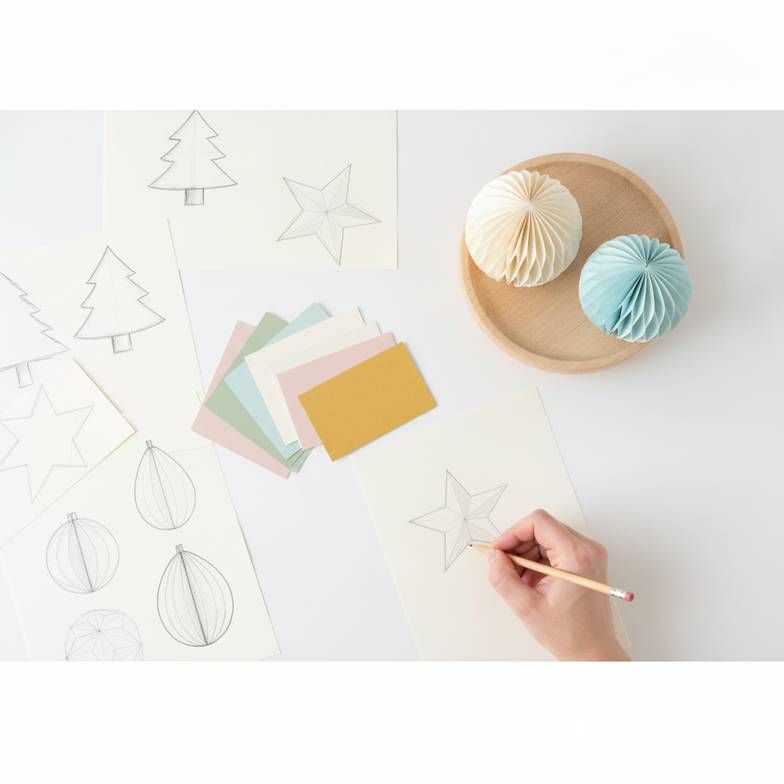
To avoid this, you must align your concept with manufacturing reality from day one. Start by defining the product's use case, target price point, and intended retail environment. These commercial goals will dictate the viable choices for materials, structure, and closure mechanisms, effectively de-risking the entire project before you even finalize a design.
Start with the Use Case, Not Just the Sketch
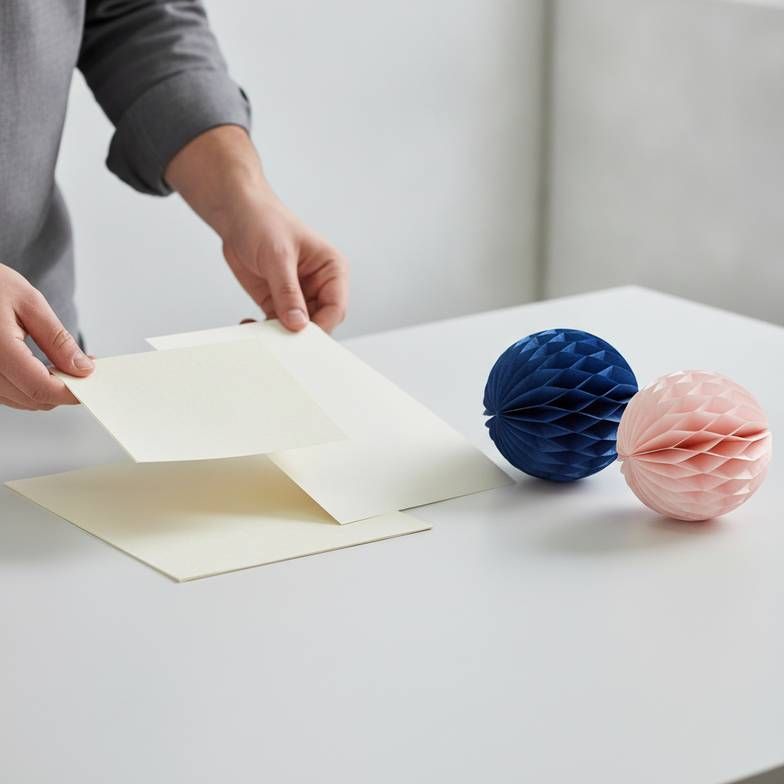
A frequent question I get from new buyers is, "Can you make this custom shape for me?" My first question back is always, "Where and how will your customer use it?" The answer fundamentally changes how we approach the project. A product's intended application is the most important factor in its design.
- Single-Use Event & Promotional Pieces: If the decoration is for a one-day event or a short-term promotion, the priorities are visual impact and cost-effectiveness. We can use lighter-weight paper and a simple adhesive closure. Durability for repeated use is not a concern, allowing for more intricate but delicate structures.
- Reusable Retail Products: If you're selling the decoration in a retail store for customers to use year after year, the priorities shift to durability and user experience. This means using heavier paper stock that can withstand handling, along with a more robust closure system like magnets. The product must feel substantial and reliable, justifying a higher price point.
Let the Price Point Guide Your Design
The second question I ask is, "What is your target retail price?" This isn't about being nosy; it’s about reverse-engineering the product to meet your commercial goals. The retail price determines the wholesale price, which in turn sets the maximum ex-factory cost we can target. This cost ceiling dictates every choice we make.
Thinking about cost early on prevents disappointment later. For example, you might love the idea of a complex, multi-layered honeycomb shape with custom-dyed paper. But if your goal is an impulse-buy item priced under $10, that premium design is likely not viable. We would instead guide you toward a simpler structure using our standard color range to hit your cost target.
Here’s a simple breakdown of how a feature choice impacts cost and commercial viability:
| Feature | Budget-Friendly Option | Premium Option | Commercial Impact |
|---|---|---|---|
| Closure | Double-sided adhesive tape | Embedded small magnets | Adhesive is for single-use; magnets signal reusability and higher value. |
| Paper Stock | Lighter GSM, standard colors | Heavier GSM, custom-dyed | Heavier paper is more durable but increases product and shipping costs. |
| Structure | Simple sphere, fan, or tree | Complex, multi-layer die-cut shape | Simple shapes use standard tooling; complex shapes require custom tooling costs. |
| Packaging | Simple polybag with a header card | Printed color box with instructions | The packaging must align with the product's perceived value and price point. |
Aligning concept with reality isn't about limiting creativity. It's about channeling it toward a product that is not only beautiful but also commercially successful.
What Does a Retail-Ready Sample for Private Label Honeycomb Paper Decorations Really Look Like?
You’ve received a pre-production sample, and it looks great. The color matches the Pantone chip, and the size matches the spec sheet. But how can you be sure that it will perform perfectly for the end customer, and that the ten-thousandth unit will look just as good as the first?
A truly retail-ready sample for private label honeycomb paper decorations is defined by its practical performance, not just its specifications on paper. It should open symmetrically every single time, display consistent color under different lighting conditions, and feature a closure mechanism that provides a frustration-free experience for the end user.
The "Symmetry and Shape" Test
What the spec sheet won't tell you is how the product feels and behaves. The first thing I encourage buyers to do is open and close the sample at least 5-10 times.
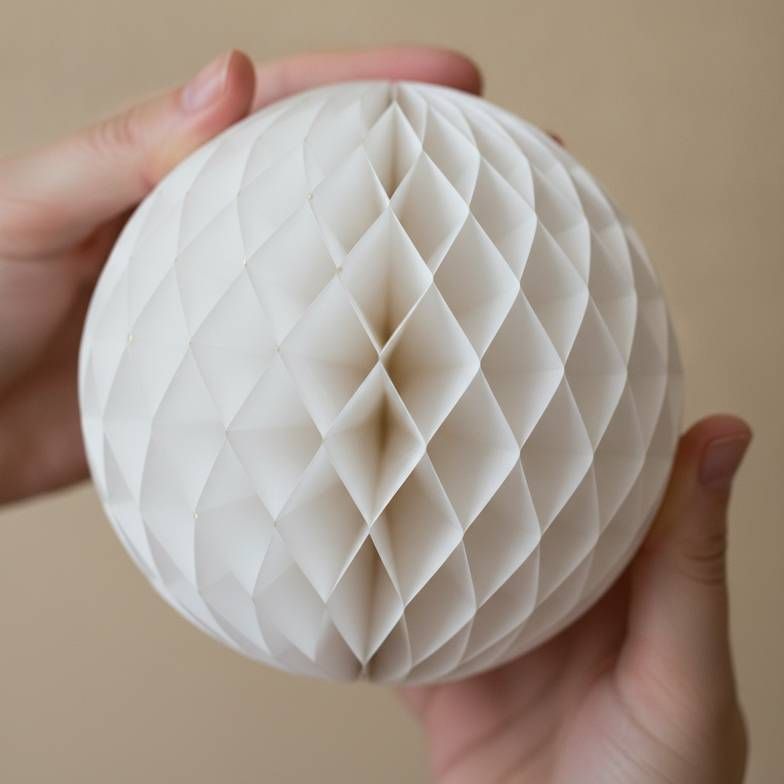
- Does it open into a full, perfectly round, or symmetrical shape? Any deviation points to imprecise glue lines or inconsistent tension in the paper, which are signs of poor tooling or assembly.
- Do the edges meet cleanly? When closed, the two sides should align perfectly.
- Does it lay flat when folded? A product that doesn't fold compactly will be difficult to package and store, and it signals a potential structural flaw.
This simple physical test reveals more about a manufacturer's quality control and production consistency than any technical document can.
Beyond the Pantone Code: Verifying Color Consistency
A buyer once told me a horror story about a large order of red honeycomb balls they received for Christmas. Under their warehouse's fluorescent lights, everything looked fine. But once they were displayed in a store with warm spotlights, some of the balls looked orange, while others looked pink. The problem was inconsistent dye lots.
A single sample can be misleading. To avoid this disaster, you must verify color consistency. When you receive samples, look at them under different light sources:
- Natural daylight
- Cool, white office light
- Warm, yellow store light
Ask your supplier how they manage color consistency across a massive production run. A reliable partner will have processes for managing dye lots and will use a spectrophotometer or a light box to ensure every batch matches the master standard.
Closures: The Critical Final Touchpoint
The closure is where the customer interacts with your product most intimately. A poor closure experience can ruin the perception of an otherwise beautiful decoration.
- Magnetic Closures: These are ideal for reusable retail products. When inspecting a sample, check that the magnets are strong enough to hold the decoration securely open but not so strong that they are difficult to separate. Check that they are embedded cleanly and don't fall out.
- Adhesive Tape Closures: Perfect for cost-sensitive or single-use items. With the sample, check the peel-off liner. Is it easy to grab and remove? Does the adhesive hold firmly? A frustrating experience with a tiny, hard-to-peel liner can lead to negative product reviews.
When you get a sample, don't just look at it. Use it. Open it, close it, hang it, and imagine you are the final customer. That is how you assess if it's truly retail-ready.
How Do You Turn a Single Product into a Cohesive Private Label Collection?
You’ve perfected a single product. It’s beautiful, functional, and hits your cost target. But a single item isn't a collection. You're now worried about how to scale this success, fearing inconsistent packaging, inefficient shipping, and a final assortment that looks like a jumble of unrelated items on the retail shelf.
You transform a product into a collection by shifting your focus from the individual item to the total retail presentation. This means designing packaging that works for both logistics and in-store merchandising, creating a logical assortment of products that tell a coherent visual story, and meticulously planning the production timeline to ensure a successful seasonal launch.
Designing Packaging for the Entire Journey
Packaging for private label honeycomb paper decorations has three jobs to do, and all are equally important for a retail-ready collection.
- From Factory to Warehouse: The master carton must be designed for logistical efficiency. We work with clients to determine the optimal number of units per carton to maximize container space, which directly impacts landed cost per unit. Sturdy cartons and proper labeling are essential for a smooth journey through the supply chain.
- From Warehouse to Store: The inner pack (e.g., a display-ready box of 12 units) must be easy for retail staff to handle. Clear markings and simple-to-open designs mean your products get on the floor faster and with less risk of damage.
- On the Shelf or Peg: The final retail packaging is your silent salesperson. Does it protect the delicate paper structure? Does it clearly show the product inside, either through a window or high-quality photography? Does it include a hang-tab for pegboard displays or a stable base for shelves? This packaging must be consistent across the entire collection to create a strong brand block at retail.
Assortment Planning: Creating a Visual Story
A successful collection feels curated, not random. When we help a brand build a seasonal range, we encourage them to think in terms of a visual story.
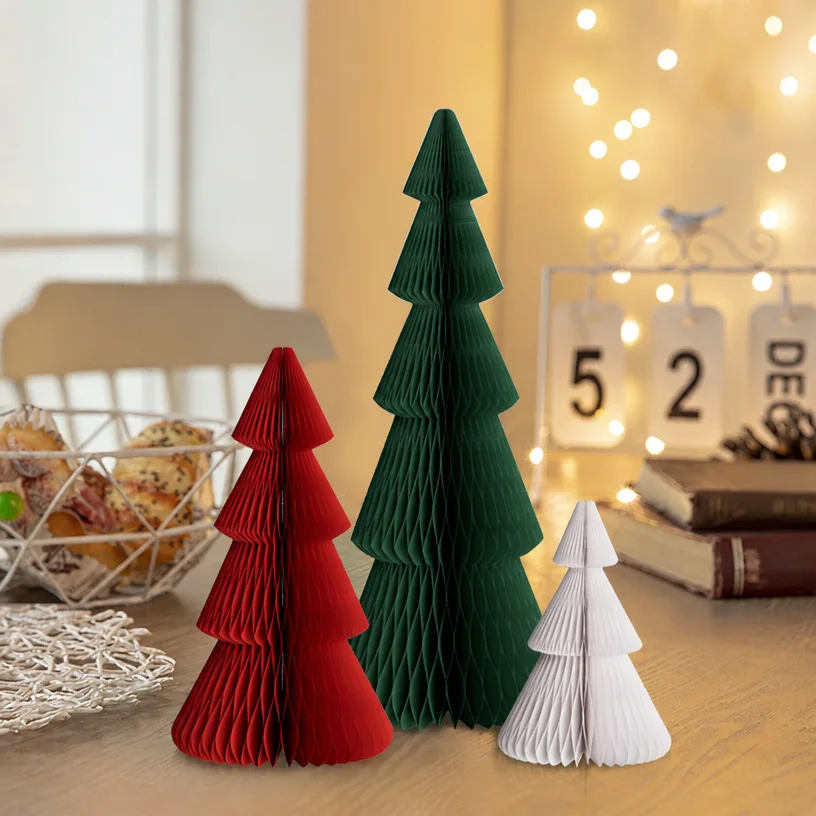
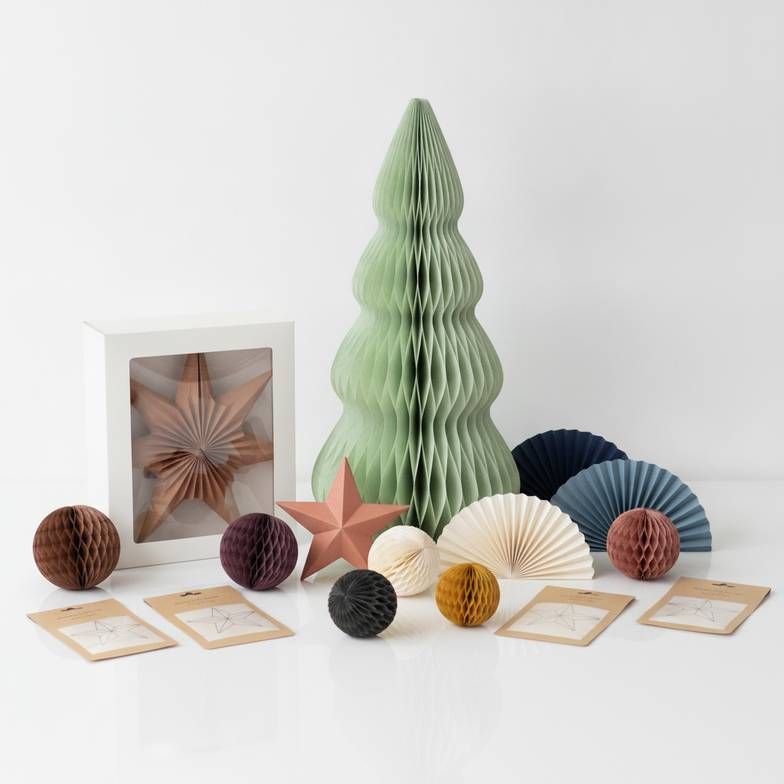
- Establish a Hierarchy: Don't just offer three sizes of the same ball. Create a collection with a large, eye-catching "hero" piece (like a large honeycomb tree), several mid-sized supporting items (like stars and fans), and a few small, affordable ornaments that are perfect for impulse buys.
- Use a Coordinated Color Palette: The easiest way to tie a collection together is with color. Start with a core color story—perhaps 3-5 complementary shades—and apply it across the different shapes and sizes. This allows customers to easily mix and match pieces, increasing the average transaction value.
- Vary the Formats: A strong collection includes a mix of formats that work together in a display. Think about combining hanging decorations, tabletop centerpieces, and garlands to create a complete merchandising solution for your retail partners.
The Production Timeline is Non-Negotiable
A fantastic Christmas collection that arrives on December 26th is a total failure. For seasonal products, the timeline is everything. You must work backward from your "in-store" date. A typical timeline for a holiday collection might look like this:
- January-March: Concept development, assortment planning, and supplier selection.
- April-May: Sample development, refinement, and final "golden sample" approval.
- June-July: Bulk production and initial quality control checks.
- August: Final pre-shipment inspection and ocean freight booking.
- September-October: Goods arrive at the destination port, clear customs, and are received into your warehouse.
- November: Products are distributed to retail stores for floor-set.
Building in buffers for potential delays in sampling, production, or shipping is critical. A reliable manufacturing partner will work with you to create and stick to a realistic timeline.
How Do You Manage Quality for Private Label Honeycomb Paper Decorations?
You've done it. You've approved the "golden sample," and it's perfect. But a deep-seated fear remains: how can you be absolutely sure that the 20,000 units arriving at your warehouse in three months will match this one perfect piece? The thought of a major quality issue derailing your launch keeps you up at night.
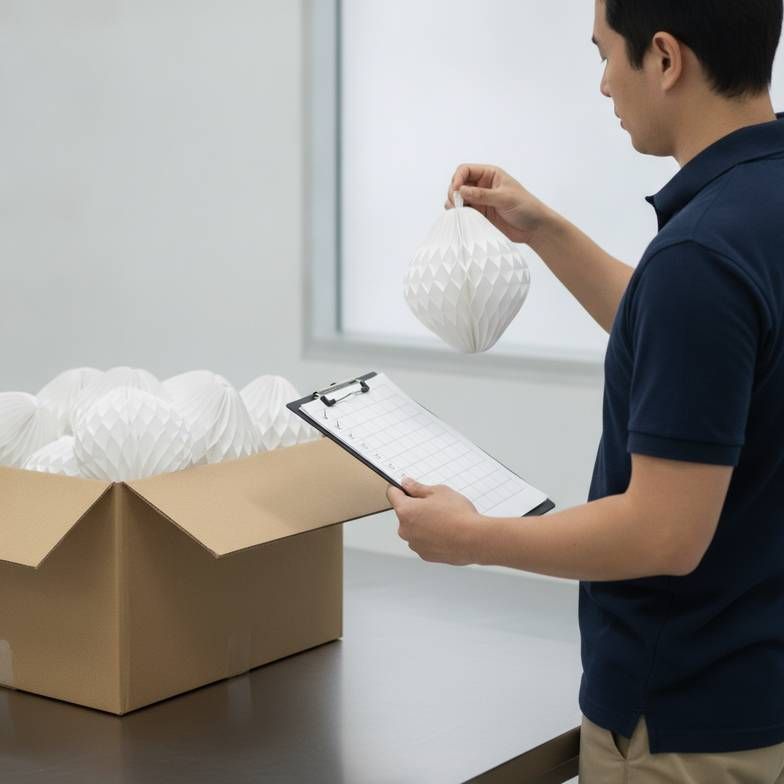
You manage quality for private label honeycomb paper decorations through a robust system of verification, not blind trust. This means locking in an approved pre-production sample as a binding standard, providing your supplier with a clear and objective QC checklist for mass production, and conducting a final inspection to confirm everything before the goods are packed and shipped.
The Golden Sample: Your Contract of Quality
The most important tool in your quality management arsenal is the "golden sample," often called the Pre-Production Sample (PPS). This is not just another prototype. It is the one, final, perfect sample that represents the agreed-upon standard for the entire production run.
At Mypaperbloom, we have a formal process for this. We send a final PPS to the client for approval. Once they confirm it's 100% correct, they sign a tag on it and send it back to us, or we both sign and seal counterpart samples. This signed sample becomes our physical contract of quality. Our internal QC team uses it as the benchmark to check against during and after production. Any unit coming off the line that does not match this golden sample is rejected.
Building Your Quality Control Checklist
Your supplier's QC team can only inspect what you tell them is important. Providing a detailed checklist turns your subjective expectations into objective, measurable criteria. This document should be shared and agreed upon before production begins.
Here are the key points your checklist must include:
- Dimensions & Weight: Specify acceptable tolerances for both the folded and fully opened dimensions, as well as the weight of the product. (e.g., +/- 2mm).
- Color Match: All production units must visually match the golden sample's color under a specified light source (e.g., D65 lightbox).
- Structural Integrity:
- Opens to a full, symmetrical shape without manual adjustment.
- Glue lines are clean, with no excess glue visible.
- Paper cells are not crushed or torn.
- Hanging loop is securely attached.
- Closure Function:
- Magnets: Securely hold the shape, polarity is correct, and they are fully embedded.
- Adhesive: Peel-tab is easy to remove, and the adhesive provides a firm bond.
- Packaging & Labeling:
- Correct retail packaging is used, free of dents or tears.
- Barcode is present and scannable.
- Correct number of units per inner and master carton.
The Power of Pre-Shipment Inspection (PSI)
A Pre-Shipment Inspection is your final line of defense. It's a formal inspection that happens after production is 100% complete but before the goods are loaded into a container for shipping. This is your last and best chance to find and fix any issues at the factory, rather than discovering them in your own warehouse when it's too late.
You can hire a third-party inspection company or ask your supplier to perform an internal PSI and share the detailed report with photos and videos. The inspector will use your QC checklist and the golden sample to randomly pull units from the finished batch and verify that everything meets the standard. This turns you from a passive recipient into an active, empowered partner in ensuring the quality of your collection.
Frequently Asked Questions
What is a typical MOQ for private label paper decorations?
The Minimum Order Quantity (MOQ) really varies based on the product's complexity. Simpler items made with standard-color paper might have lower MOQs, often a few thousand units per design. However, projects that require custom-dyed paper or complex custom tooling will have higher MOQs to make the setup costs worthwhile for both sides. It's always best to discuss this early with your manufacturing partner.
How long does the private label development process take?
For seasonal products, planning is everything. From the initial concept to having the goods delivered to your warehouse, you should budget for 4-6 months. This timeline includes design, sampling (which can take a few rounds), mass production, quality control, and international shipping. My best advice is to start the process as early as possible.
Can I get a sample before committing to a large order?
Yes, and you absolutely should. Never commit to a bulk order without first approving a physical sample. Most manufacturers will provide pre-production samples (PPS). There might be a fee for these samples, but it's often credited toward your bulk order payment. Think of it as a small insurance policy to guarantee you get exactly what you're expecting.
What's the difference between using magnets and adhesive tape for closures?
It comes down to the intended use and perceived value. Magnets are fantastic for retail products because they allow the customer to easily fold the decoration down for storage and reuse it year after year. Adhesive tape is a more cost-effective solution that is perfect for single-use items, like decorations for a party, event, or short-term visual merchandising display.
Conclusion
Bringing a successful collection of private label honeycomb paper decorations to market is far more than just a production task; it's a series of strategic commercial decisions. It begins with grounding your creative concept in the realities of manufacturing and your target price point. It continues with a rigorous sample evaluation process that prioritizes real-world performance over simple specs. Success is realized when you plan for a cohesive collection—from product assortment to packaging and logistics—and manage quality through a system of verification, not trust. By taking an active role in these key decisions, you can effectively de-risk your investment and ensure your collection is a winner at retail.
At Mypaperbloom, we partner with brands to navigate these decisions every day. If you're looking to develop a retail-ready collection of honeycomb paper decorations, reach out to our team. We can help you translate your vision into a product that delights customers and performs beautifully on the shelf.